


Installing Closures Around the Jacket Construction
Snap buttons and trims affect how a varsity jacket closes, wears and holds its finished shape. For clothing brands, private label buyers and wholesale importers, installation needs to match the approved sample in appearance, position and operation.
We review the selected components alongside the body fabric, sleeve material and construction details. A snap that suits a lightweight jacket may require a different installation approach on a thick wool blend front.
Component selection and attachment requirements should be confirmed before bulk installation. Changing a closure after holes have been made can leave visible damage or require replacement garment sections.
Confirming Snap Components and Material Compatibility
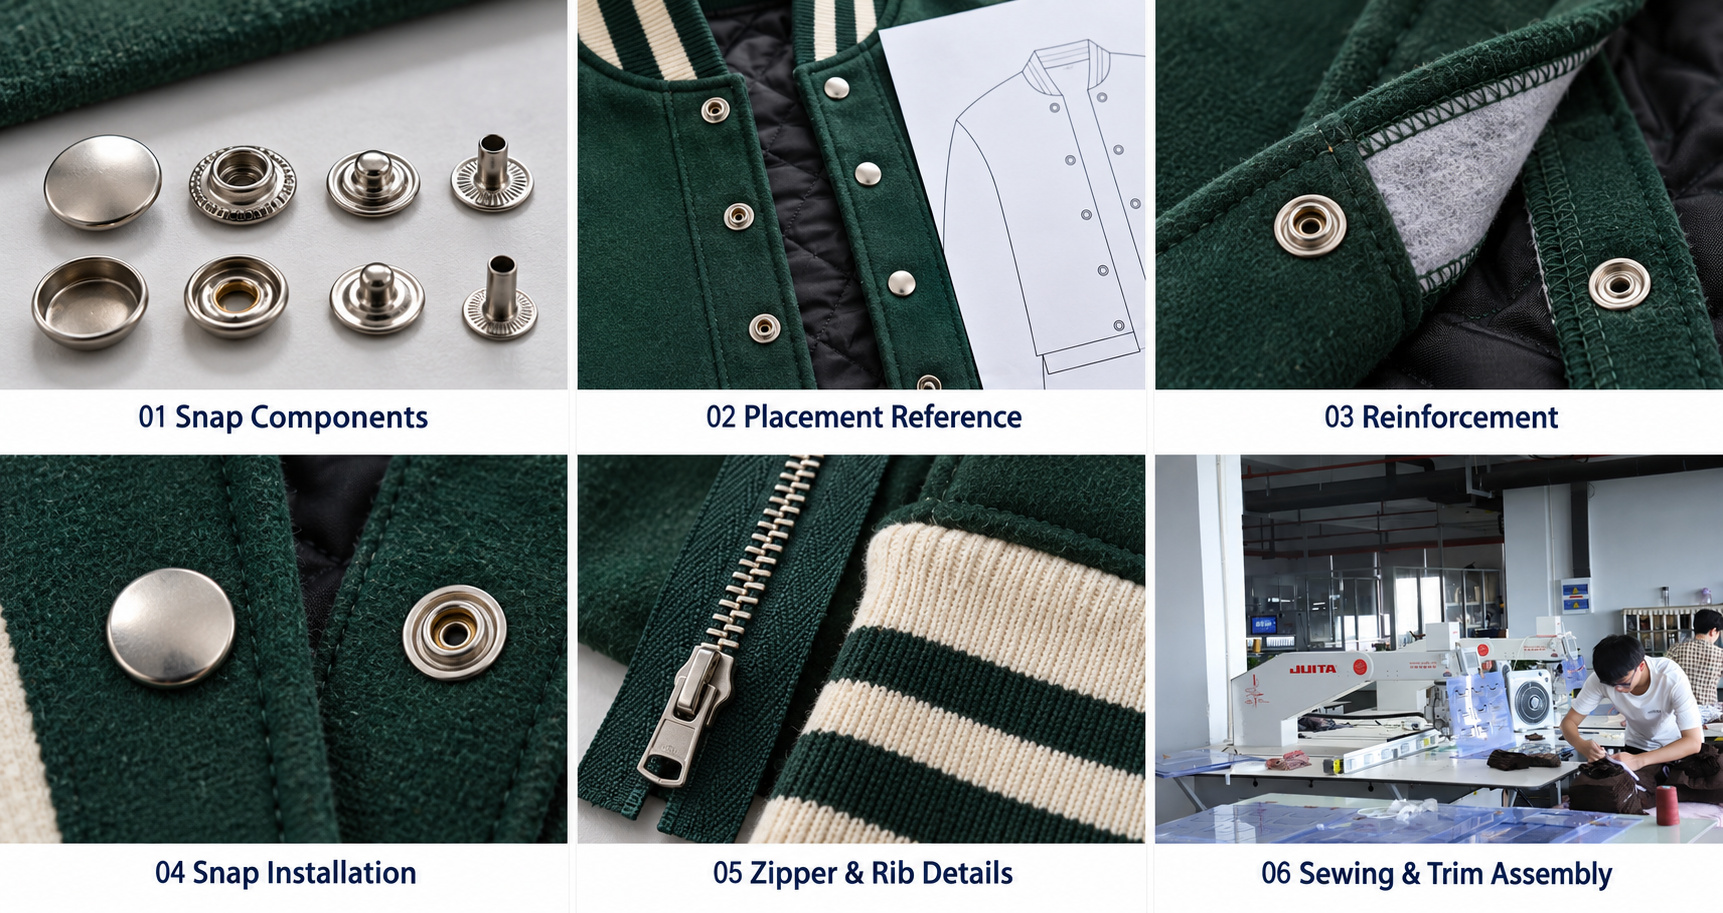
Snap components need to form a compatible set. Cap appearance alone does not establish whether the socket, stud and fastening components are suitable for the jacket.
The review considers material thickness, the layers at the installation point and the required opening and closing action. The fastening length and installation tooling must suit the selected component and garment construction.
Finish, color and visible cap design also need confirmation. Buyers can compare these choices through our trims and accessories page before committing to the order.
 Positioning Snaps and Reinforcing the Front
Snap positions follow the confirmed spacing and front closure reference. Matching the two sides of the placket is essential: a small positioning difference can cause pulling, uneven overlap or a distorted hem when the jacket is closed.
Installation points are reviewed for reinforcement where needed. The reinforcement must support the fastening without creating excessive stiffness or a visible outline on the jacket face.
The top and bottom snaps require particular attention because their positions relate to the collar, rib hem and finished front length. Placement should be checked on the assembled sample rather than judged from a flat drawing alone.
Attaching Zippers and Other Trims
For zipper-front styles, the zipper length, tape, slider and end construction need to match the approved design. Sewing checks include front alignment, smooth operation and whether the lining interferes with closure.
Rib components and pocket trims are sewn during the relevant assembly operations. Their attachment needs to maintain balanced tension, clean edges and the agreed appearance.
Trim sequencing connects with sewing and jacket assembly. The construction plan should identify which components are attached before lining closure and which are installed later.
Reviewing Installation and Closure Operation
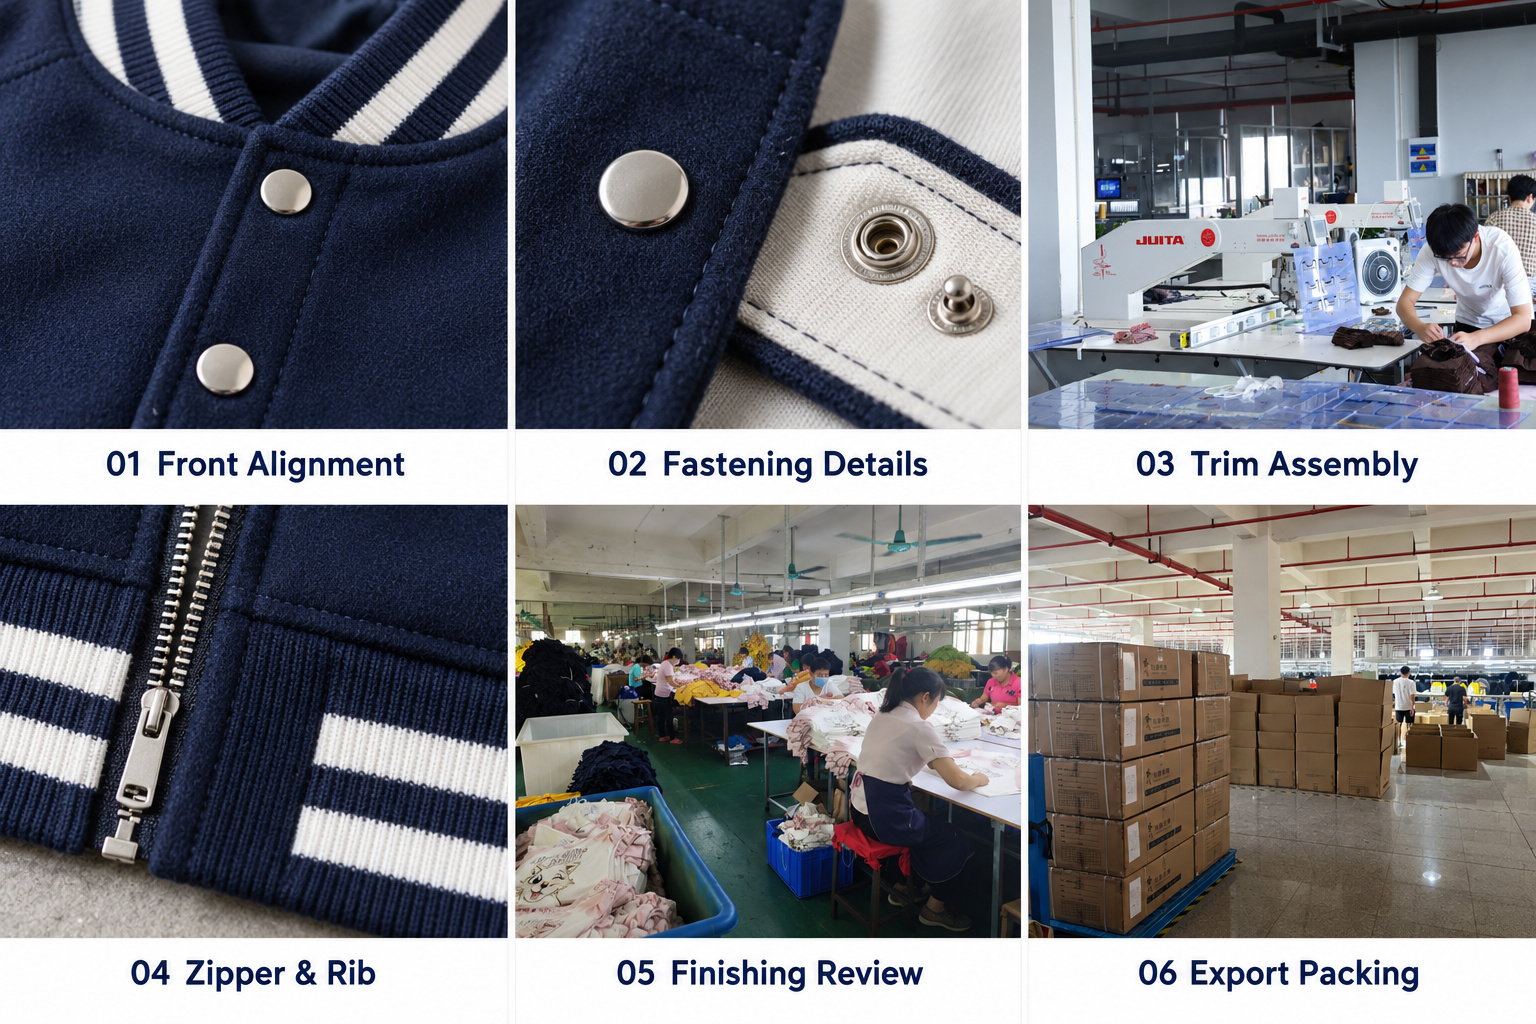
Checks cover visible alignment, secure attachment, cap condition and the fastening action. Snaps should engage properly without rotating loosely, damaging the fabric or creating uneven tension across the front.
The reverse side also needs review for fastening condition and exposed edges. Zippers are checked for smooth travel and alignment, while sewn trims are reviewed for puckering, skipped stitches and loose ends.
If an order requires pull-strength testing or another specified check, the method, acceptance criteria and inspection arrangements should be agreed in advance. A visual review alone does not establish a tested strength result.
 Details Needed Before Bulk Installation
Send your jacket reference, closure type, preferred finish, component artwork where applicable and quantity by style and color. Include photographs of any existing snap or trim that needs to be matched.
Special finishes, branded caps and uncommon components can affect purchasing minimums, sample cost and lead time. Installation should be reviewed through sample development before bulk production.
Completed closures and trims are checked during final inspection. Folding and packing requirements should also account for exposed metal components that could mark adjacent fabric surfaces.